

Introduction
In the previous two services, we have built both email ( ), and SMS ( ) services that provide their own REST endpoints and Message Queue listeners. These REST endpoints invoke their respective services directly.In this article, we will build the Notification Service which will expose a common REST endpoint for both of these services and provide a Message-driven abstraction to enqueue the incoming requests. By queueing the outbound email and SMS messages we can decouple the request operation from the processing operation. This increases the services responsiveness since it no longer needs to wait for the processing to complete. Additionaly, we can scale the number of instances of the Outbound Email & Outbound SMS services to improve throughput by processing the respective queue's messages in parallel.It is important to note that this is a queueing service. A successful response only indicates the Email or SMS message has been enqueued, not sent or received.
Requirements
Before you get started, you will need the following:- Java
- Maven
- Docker
- Docker-Compose
Building the Notification Service
The Notification Service is very similar in structure to both the OutboundEmailService and the OutboundSMSService. It exposes A REST endpoint, however it doesn't implement a Message Queue Listener. Instead when we implement the Spring @Service interface and implementation, we will be calling the messaging system instead of the Email or SMS service REST endpoint. We will now be able to enqueue messages directly from our Swagger UI, and will no longer need to manually publish message through the RabbitMQ web administration console.The Source
Maven POM.XML
loading...The NotificationService has fewer dependencies than the OutboundEmailService and the OutboundSmsService since it only needs to integrate to the messaging system. Instead, the NotificationService only depends on the spring-cloud-starter-stream-rabbit library.
Configuration Files
bootstrap.yml
loading...We see the usual bootstrap configurations to name the application, configure remote configuration,and configure the service discovery client.
application.yml
loading...Here again, we have a fairly generic configuration file. The primary difference is in the service's spring.cloud.stream.bindings where we define the two outbound message channels SmsMessages, and EmailMessages. We do not supply any channel group configuration as we will only be publishing messages, not consuming them.
Models
We NotificationService's REST endpoint contains two request models, EmailRequest and MmsRequest:Email Request
loading...Mms Request
loading...Services
The service implementation is where messages we received in the RESTController get enqueued into the corresponding message queue.Notification Service
loading...Notification Service Impl
loading...In the service implementation we start by wiring ( @Autowired) the SMS & Email message sources. These will provide the outbound message channels we will publish to.
The service provides four methods, sendEmail(...), sendEmailWithAttachment(...), sendSmsMessage(...), sendMmsMessage(...). All four messages follow the same pattern:
- Obtain reference to the appropriate outbound message change.
- Use the spring.messaging.support.MessageBuilder to create a new message with with the corresponding message payload.
- Set the corresponding header type. This value is used by the message queue listeners to route the messages to the correct consumers.
- publish the message via the channels send(...)method.
REST Controllers
The service contains a single REST endpoint class: NotificationController.javaloading...The REST Controller exposes two methods: sendEmail, and sendMMS. These methods call the corresponding method in the NotificationService.
Docker-Compose
We continue the process of extending our previous Docker-Compose file to include the newly created service:loading...Notification Service in action
We can copy the Docker-Compose file above to your local machine and run it from the command prompt:docker-compose -f ./dc-07-notification.yml up -d
Exercising the Swagger Interface
When all the services have started, navigate to the following url: http://localhost:6020/swagger-ui.html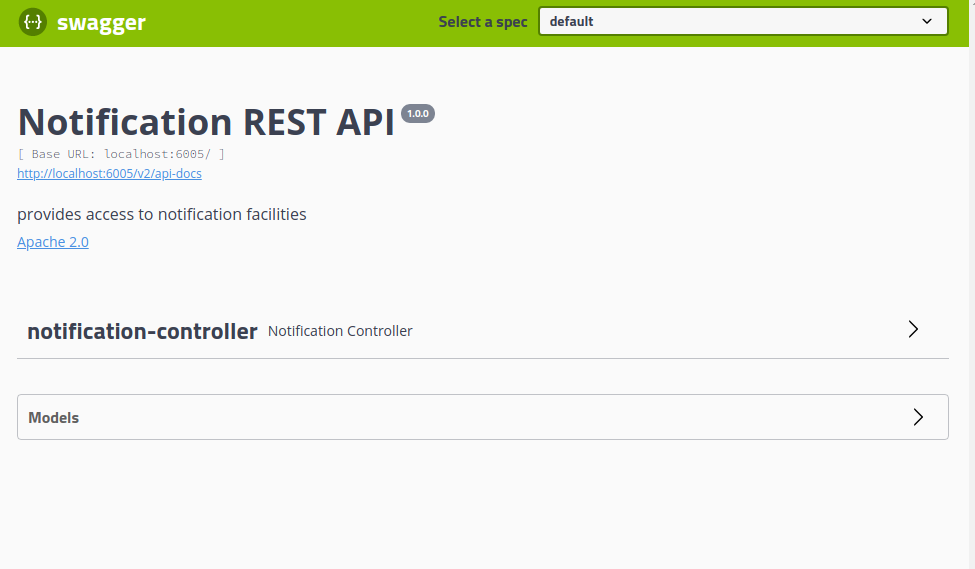
Click on the notification-controller option.
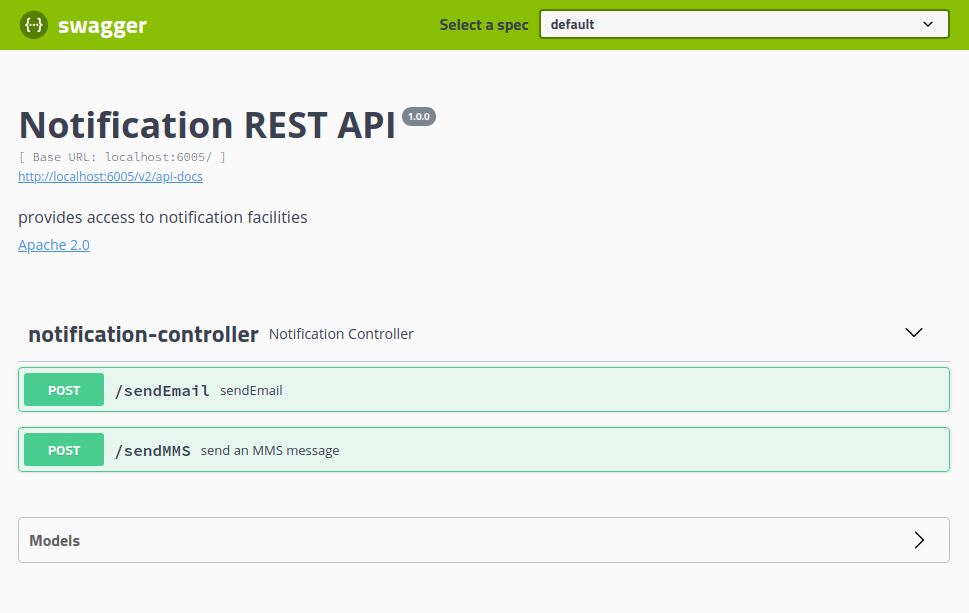
Click on the /sendEmail option.
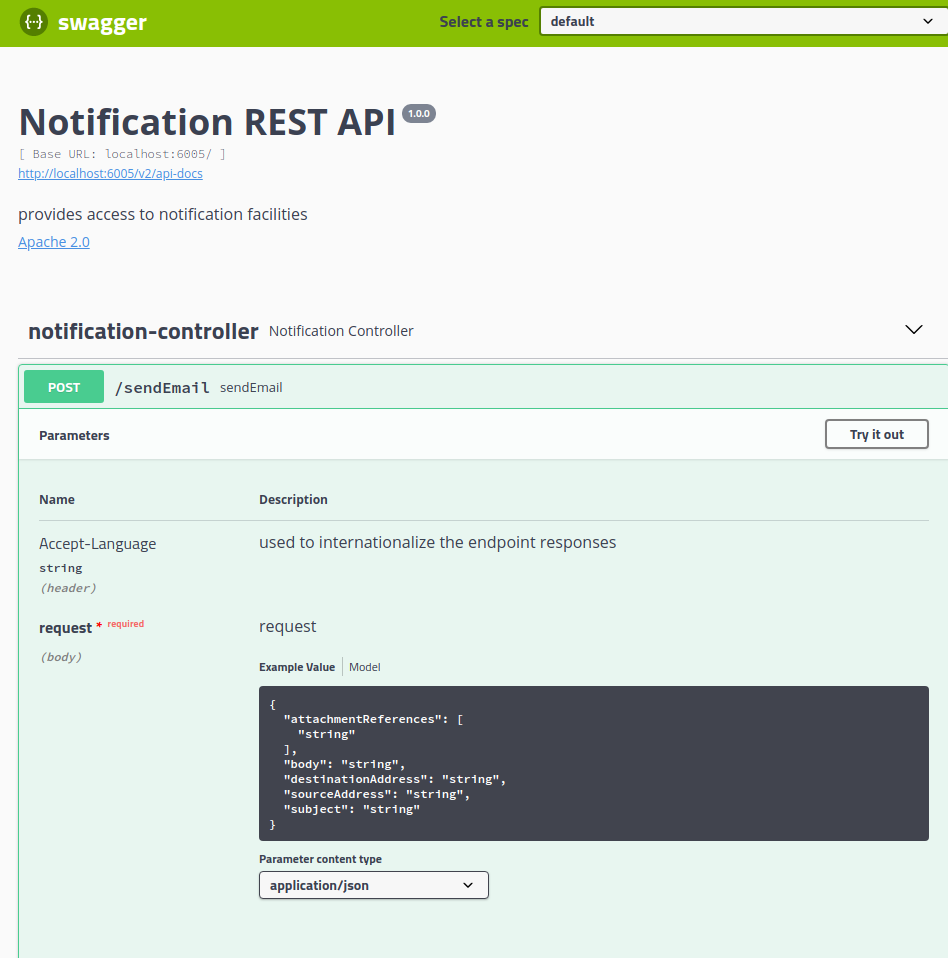
The /sendEmail method accepts two parameters:
- Accept-Language- this is an optional parameter that we can pass to instruct the service's I18N resolver to internationalize the service's error response. This field will set the request's Accept-Language header value. If no value is set, or the value is not a supported language code, the service will respond with its default error message.
- Request- This parameter is the JSON representation of the request model.
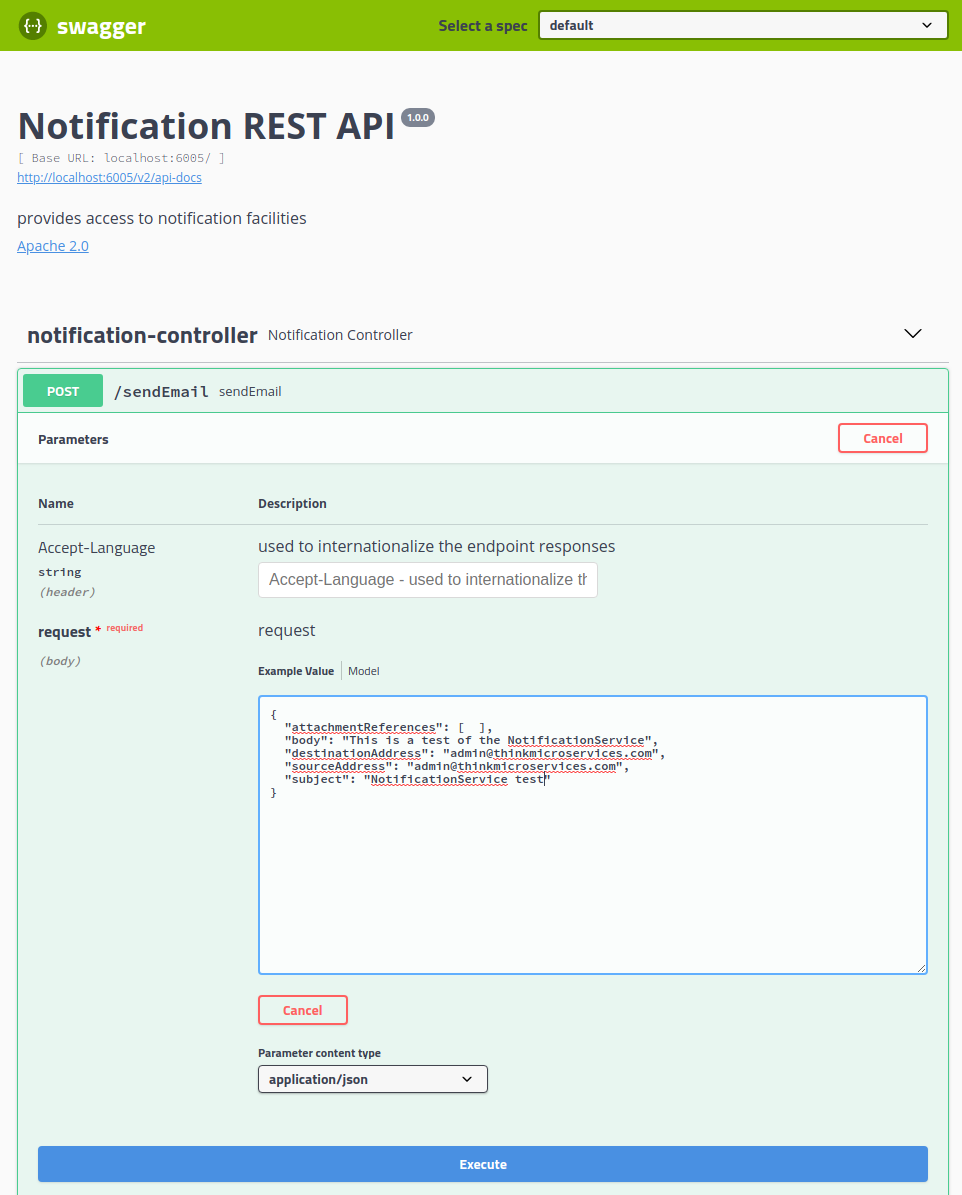
The interface will display input fields where we can enter our test data. In the request field you will see an editable JSON template, and we can modify the values to suit our needs. Once we have edited the parameters we can click the Execute button which will call the REST endpoint.
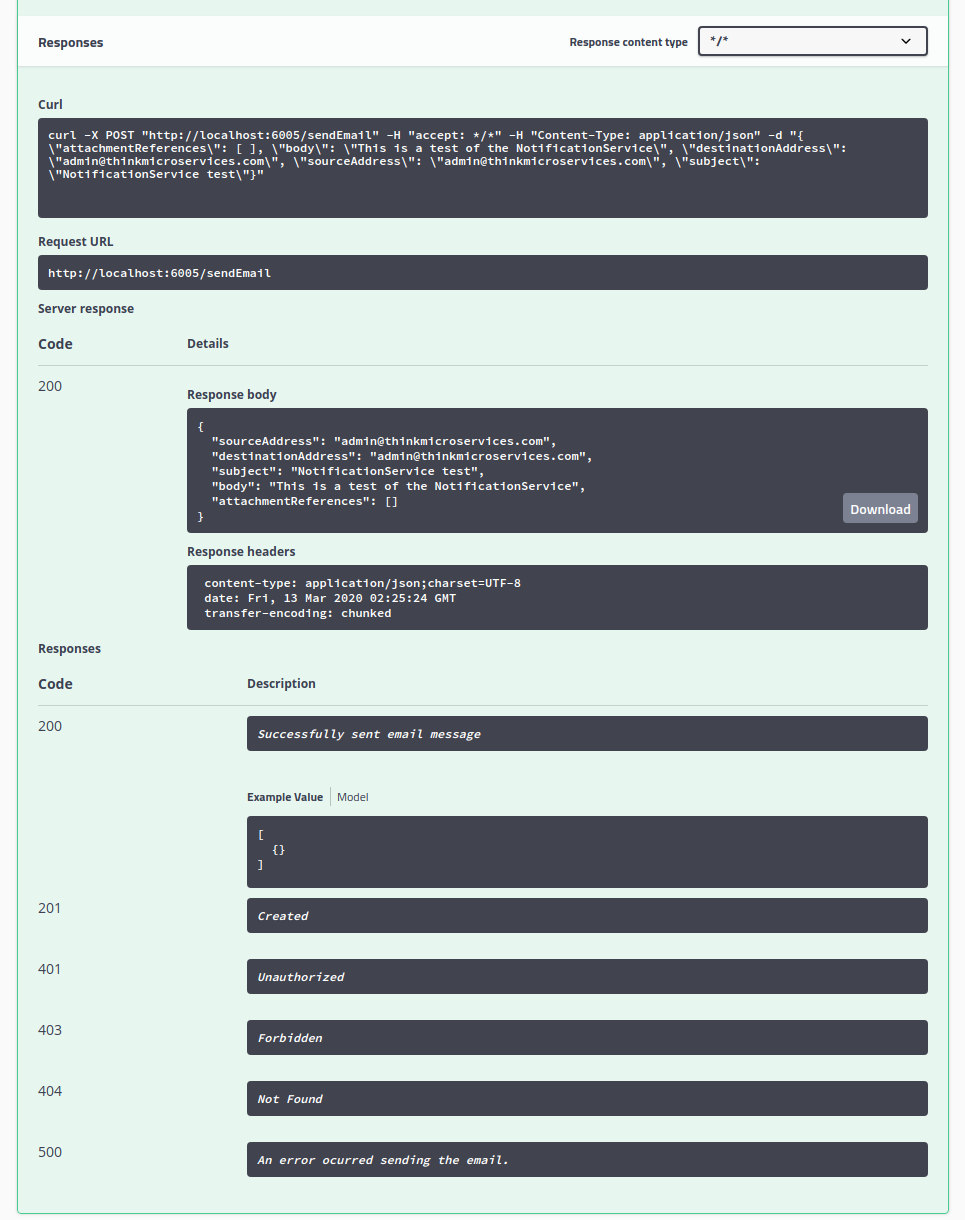
Once the call has completed, the Swagger UI will display the results of the request.
Metrics and Monitoring
The Notification Service generates the following service-level metrics:- notification.email.plain.send.total
- notification.email.attachment.send.total
- notification.sms.send.total
- notification.sms.send.total
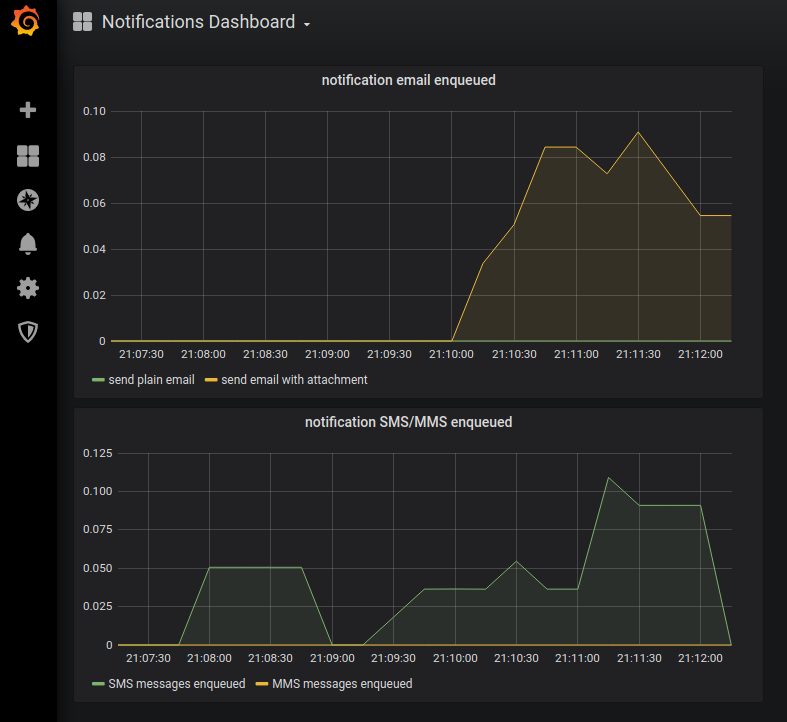
To visualize this data we will import the NotificationDashboard.json file from the ThinkMicroservices Github Dashboards repository. The dashboard should appear as:
Resources
- NotificationService Github repository
- NotificationService Docker hub image.
- ThinkMicroservice NotificationService Dashboard.
Coming Up
Up to this point, the services we have implemented have been relatively simple. Over the next several articles, we will be implementing the AuthenticationService. The AuthenticationService will be responsible for handling:- User Registration.
- Credential Authentication.
- Token management including JSON Web Token (JWT) generation, and refresh token handling.
- Password Change.
- Forgotten Password Recovery.
- User Account status management.

Twitter
Facebook
Reddit
LinkedIn
Email